

How Do You Test a Trailer Wiring Connector with a Multimeter
2026-03-16
A faulty electrical connection can turn a simple hauling job into a dangerous situation. Knowing how do you test a trailer wiring connector with a multimeter is an essential skill for any vehicle owner who tows. Using a digital multimeter (DMM) is the most reliable method to diagnose shorts, open circuits, or poor grounds without guesswork. At Rodrock, we prioritize safety and precision, and we recommend this diagnostic approach to ensure your lighting and brakes function perfectly before you hit the road.
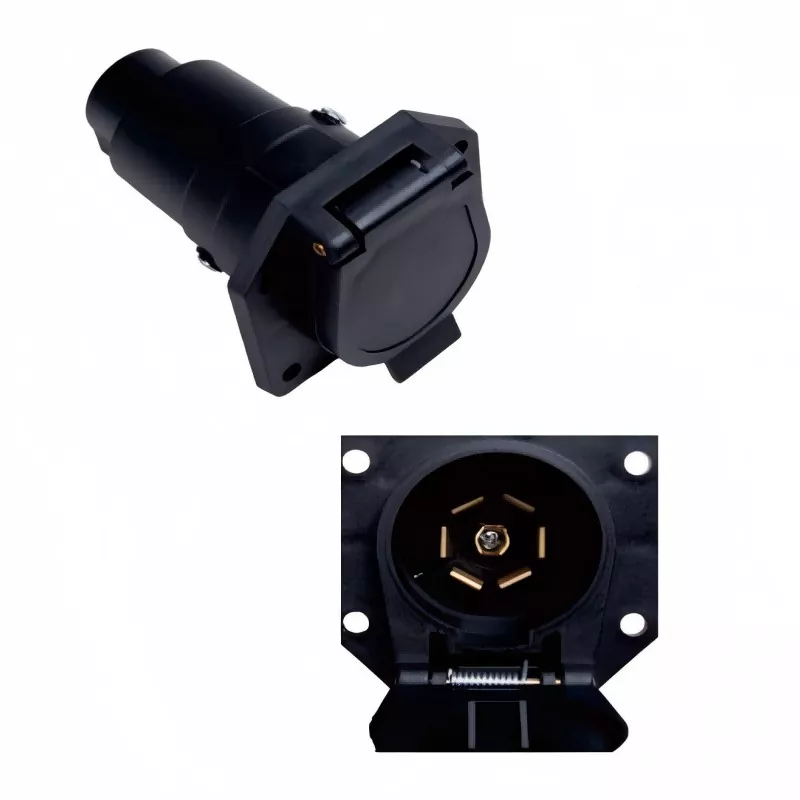
Understanding the Pin Configuration
Before testing, you must identify your connector type. Most light-duty trailers use a 4-Way flat, while heavy-duty hauling requires a 7-Pin Trailer Wiring Connector. The table below outlines the standard functions:
| Pin | 4-Way Flat | 7-Pin RV Blade |
|---|---|---|
| 1 | Left Turn / Brake | Left Turn / Brake |
| 2 | Reverse Lights | Reverse Lights |
| 3 | Ground | Tail / Running Lights |
| 4 | Right Turn / Brake | Electric Brakes |
| 5 | - | 12V Auxiliary Power |
| 6 | - | Ground |
| 7 | - | Right Turn / Brake |
Step-by-Step Testing Procedure
To perform an accurate test on your Trailer Wiring Connector, follow these professional steps provided by the experts at Rodrock:
-
Set Up the Multimeter: Turn your dial to DC Voltage (usually denoted as V with a straight line). If you are testing for continuity on the ground wire, use the resistance (Ω) setting.
-
Establish a Ground: Insert the black probe into a known good ground on the trailer frame, or use the ground pin terminal on the connector.
-
Probe the Circuit: Have a helper activate the specific function on the tow vehicle (e.g., left turn signal). Touch the red probe to the corresponding pin on the Trailer Wiring Connector.
-
Read the Voltage: A healthy 12V system should read between 11.5V and 12.8V. If you get no reading, there is a break in the circuit. A reading lower than 11V indicates a poor connection or corroded wire.
Common Issues Found During Testing
When testing a Trailer Wiring Connector, you will typically encounter one of three scenarios. Understanding these results saves time and money on repairs.
-
No Voltage Present: This usually points to a blown fuse in the tow vehicle, a disconnected wire behind the connector, or a broken wire running to the trailer.
-
Voltage Present but Lights Don't Work: This classic symptom indicates a poor ground connection. Even with power arriving at the light, without a proper ground path, the current cannot flow.
-
Intermittent Function: This is almost always caused by corrosion inside the Trailer Wiring Connector or a wire that is barely making contact and is broken inside the insulation.
FAQ: Trailer Wiring Connector Troubleshooting
Q: How do you test the ground wire on a trailer wiring connector with a multimeter?
A: To test the ground, you must perform a continuity test. First, ensure the trailer is disconnected from the towing vehicle. Set your multimeter to the resistance (Ohms/Ω) setting. Place one probe on the ground pin of the Trailer Wiring Connector. Place the other probe on a bare metal part of the trailer frame or the negative terminal of the trailer battery if equipped. A good ground will show a reading of 0 to 0.5 ohms. If you see "OL" (Open Line) or a very high number, the ground wire is broken or the connection at the frame is rusted and needs to be cleaned or replaced.
Q: Why does my multimeter show 12V at the connector, but my trailer lights still don't work?
A: This is a common point of confusion. If you have 12V at the pin and the lights are dead, you are almost certainly dealing with a ground failure. Voltage is the pressure pushing the current, but it needs a complete loop to return to the battery. The Trailer Wiring Connector provides the power (hot side), but the light assembly usually grounds to the trailer frame. If that frame connection is rusty, the electricity cannot flow. To confirm, run a temporary jumper wire from the trailer frame directly to the negative terminal of the tow vehicle battery. If the lights suddenly work, you have definitively identified a bad ground on the trailer side.
Q: Can you test a 7-pin trailer wiring connector without a helper?
A: Yes, you can perform a static test using a 12V battery source, though a helper is recommended for dynamic signal testing (like turn signals). To test without a helper, you can create a simple test light or use the multimeter probes to bridge the circuits. However, for accurate voltage drop testing under load, Rodrock recommends using a dedicated circuit tester that plugs into the Trailer Wiring Connector. This tool simulates the load of actual lights, allowing you to measure voltage drop accurately. If you must use a multimeter alone, you can test the running lights and brake circuits by manually applying power from a battery, but testing the flasher function of turn signals is difficult without an assistant activating the switch.
Conclusion
Regular electrical checks prevent roadside failures and accidents. Whether you are hauling equipment for work or a boat for the weekend, ensuring your Trailer Wiring Connector is functioning properly is non-negotiable. If you have performed these tests and still face issues, or if you need a reliable, heavy-duty replacement, Rodrock has the durable solutions you need.
For expert advice and top-tier towing products, contact us today to speak with a specialist.
